Add a file
Offer a document, such as a PDF, that learners open or download from the course.
A File is a document that learners open or download: a cheat sheet, a handout, a form. For a short text on the course page use a text block; for formatted content that lives in Linqur itself use a page.
Step by step
1. Click File in a section
Click Courses in the menu and then Manage content for the course. In the section where the file belongs, click File.

2. Enter a name and upload the file
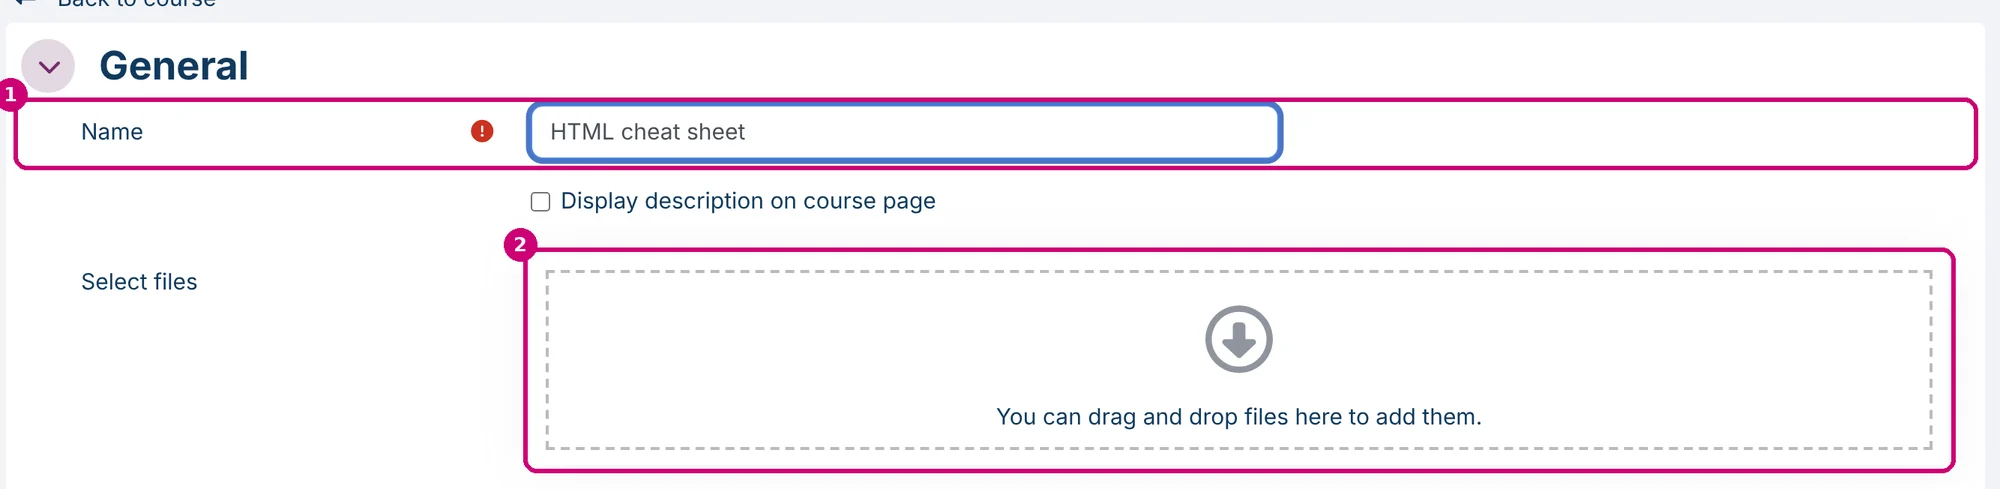
Enter a Name (1) and drag the file into the Select files box (2). There is no button to browse for a file: you drag it in.
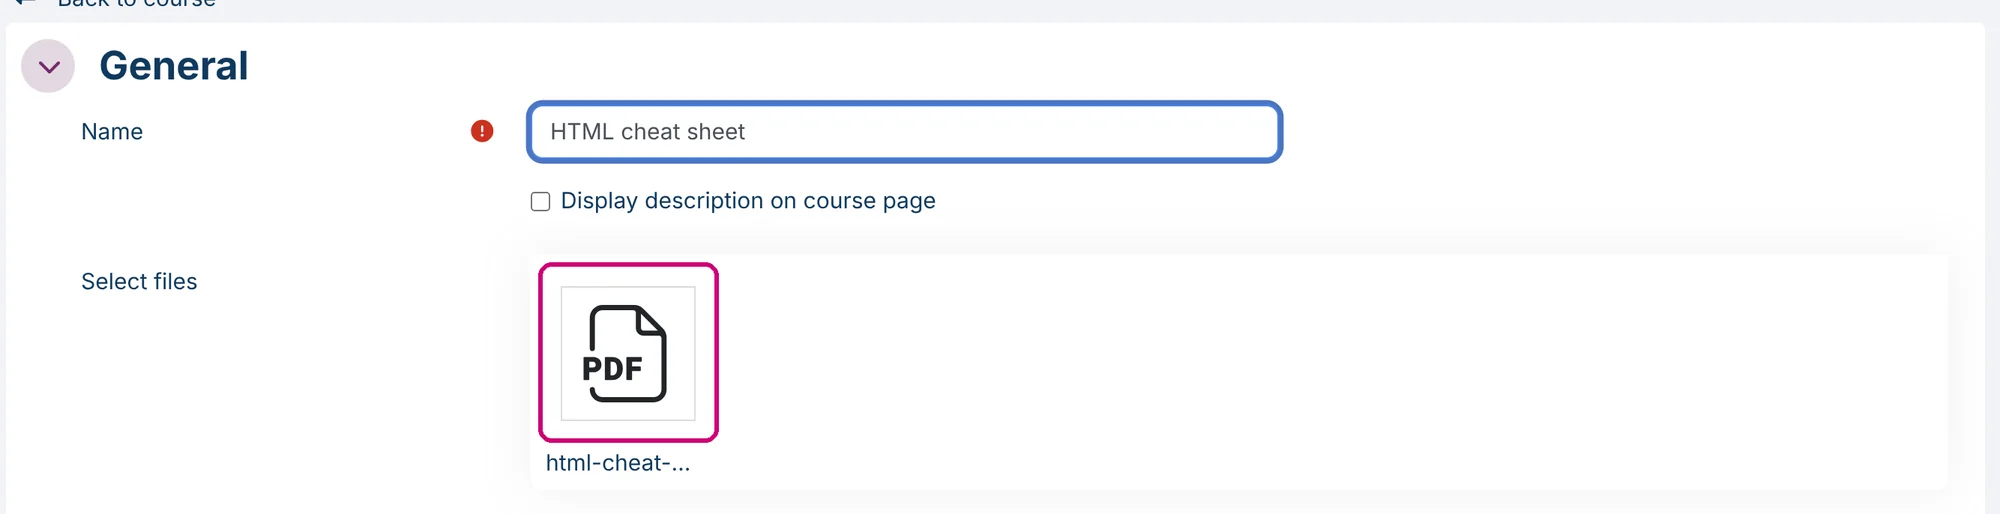
Once it’s uploaded, the file appears in the box.
3. Set how the file opens
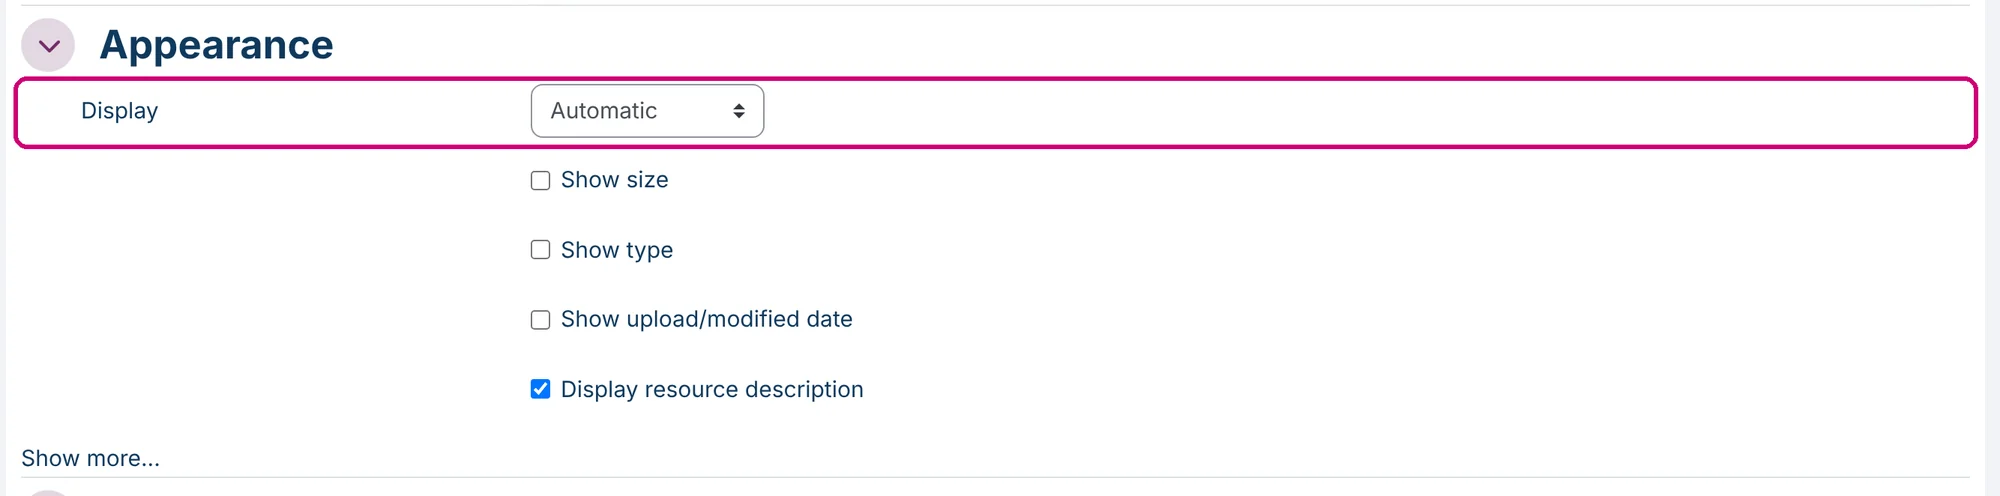
Under Appearance, Display sets how the file opens.
| Display | The file |
|---|---|
| Automatic | opens in the way that suits the file type best. |
| Embed | is shown inside the page, together with the description. |
| New window | opens in a new browser window. |
| Force download | is offered as a download. |
| Open | is shown on its own in the browser window. |
With Show size, Show type and Show upload/modified date you add that information next to the file on the course page. Show more… adds Use filters on file content.
4. Track that learners opened the file
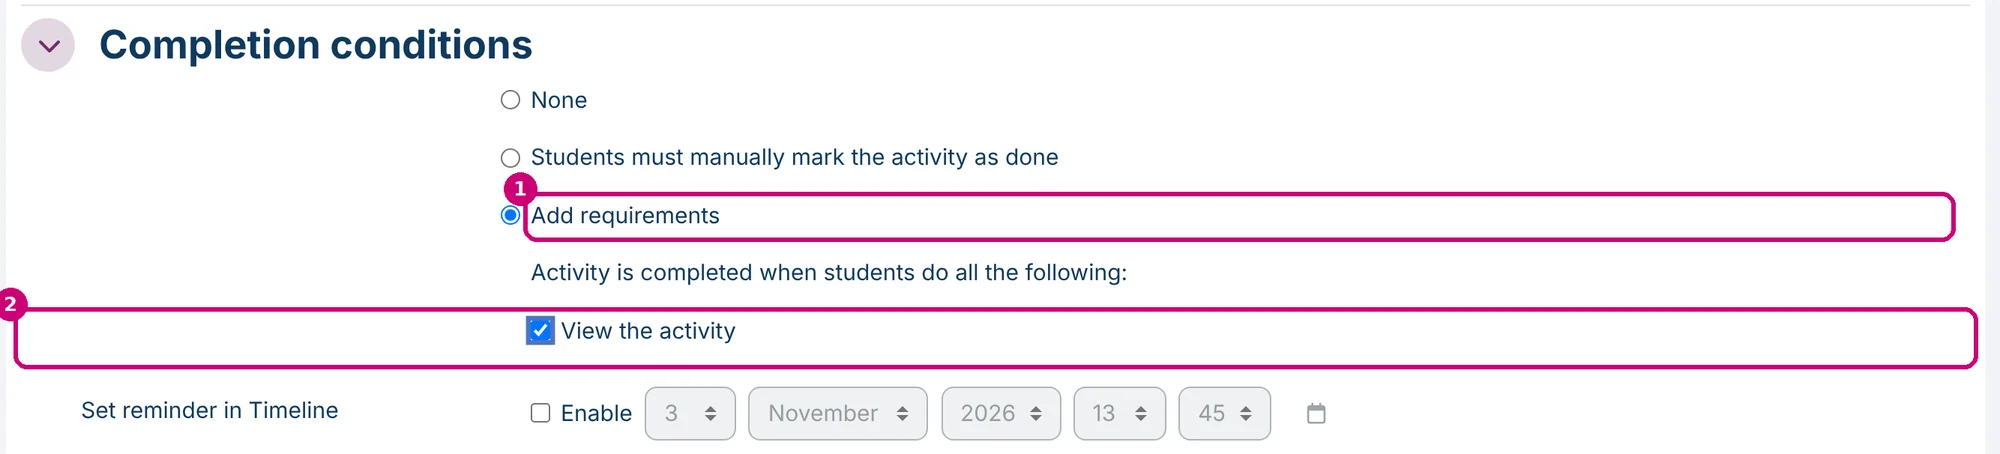
Open Completion conditions, choose Add requirements (1) and tick View the activity (2). The file then counts as complete as soon as the learner opens it, and you can use it as a condition for other content. See restrict access to sections and activities.
5. Save
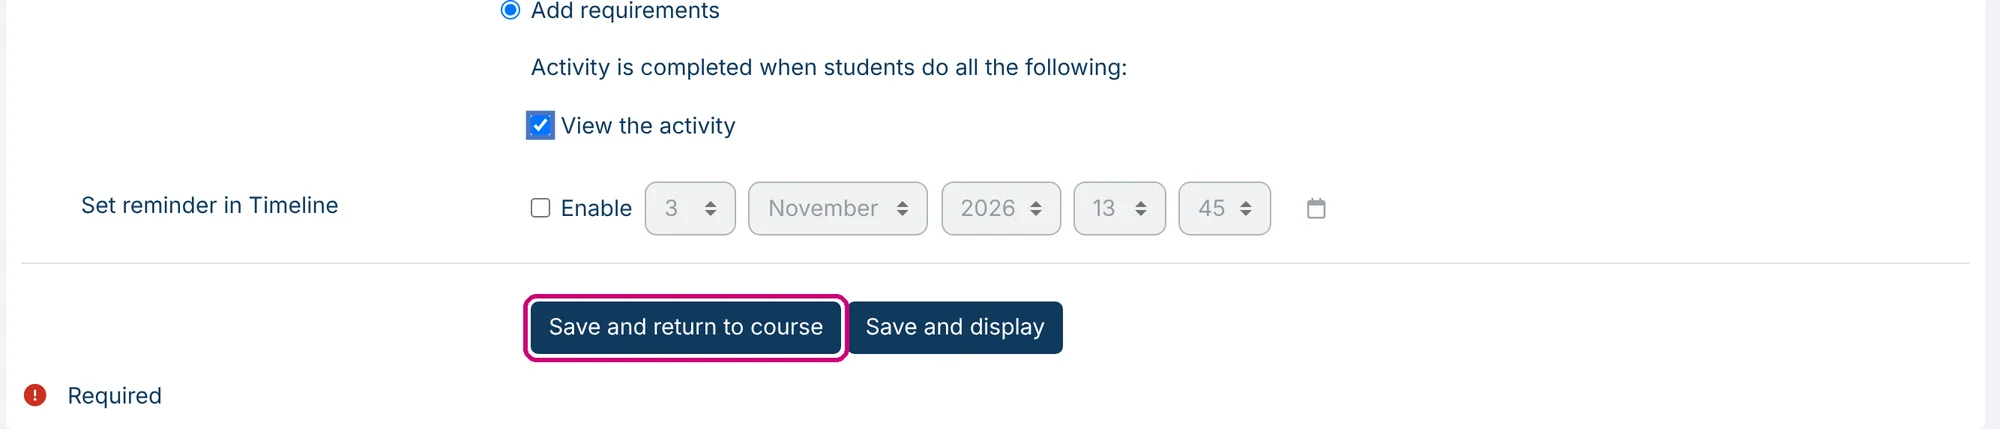
Click Save and return to course. Back to course at the top of the form leaves the form without saving.
6. Check the course
The file now sits in the section, under the page, with a Completion button.

Next step
- Count the file towards course completion: how to set up course and activity completion.
- Files you use in more than one course: manage files in the file repository.
- The other types of content: getting started with course content.