How to: Create a learning trajectory in Pluvo
A step-by-step guide to creating a learning trajectory on the Pluvo platform.
A learning trajectory in Pluvo is the container your participants work through. You give it a name and a header image, then decide who can see it and from when. A SCORM package that lives in Linqur goes in as an LTI module, so you need the trajectory before you can make that connection.
The screenshots below come from the Dutch interface, so the buttons in your own Pluvo account may be labelled differently.
Creating the trajectory, step by step
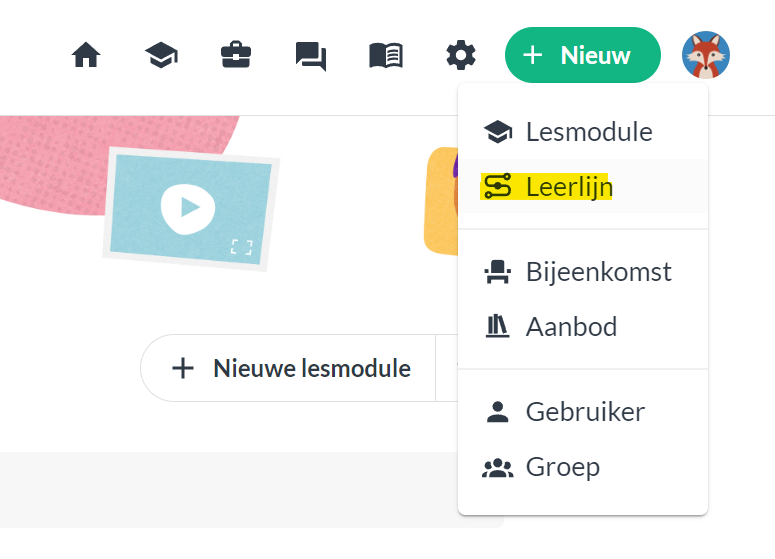
Select + Nieuw in the top right corner. A dropdown appears where you can choose Leerlijn.
A panel opens on the right of the screen. Upload a header image and give the trajectory a name. Choosing a colour for the title is optional.
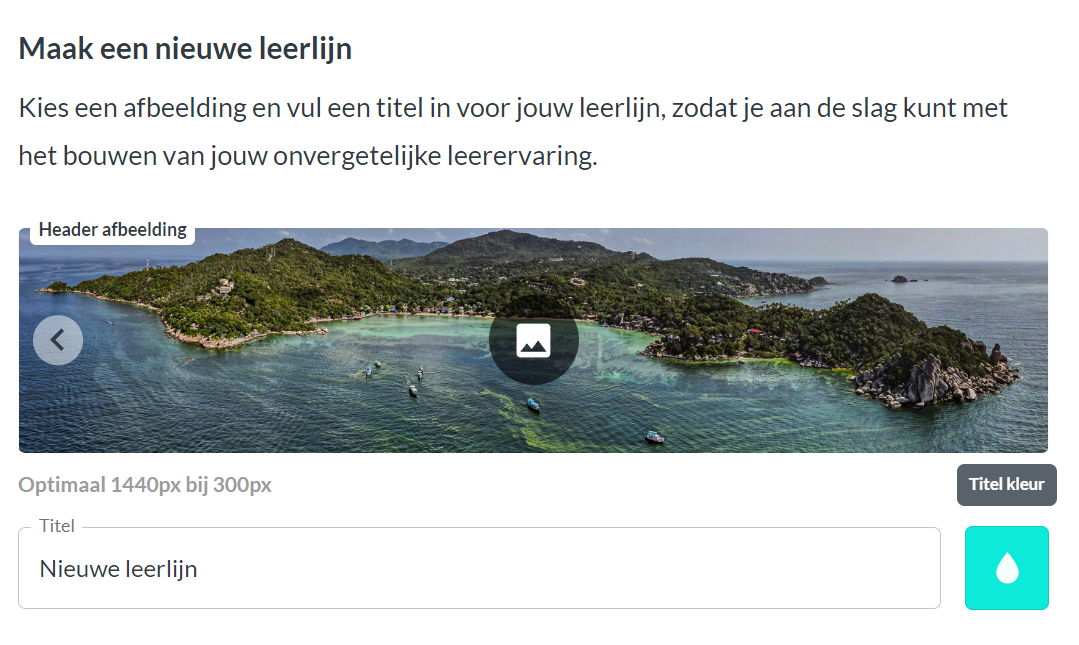
Click Maak leerlijn aan and you are done. Everything below this point is optional and can wait: select Meer instellingen if you want to set it now.
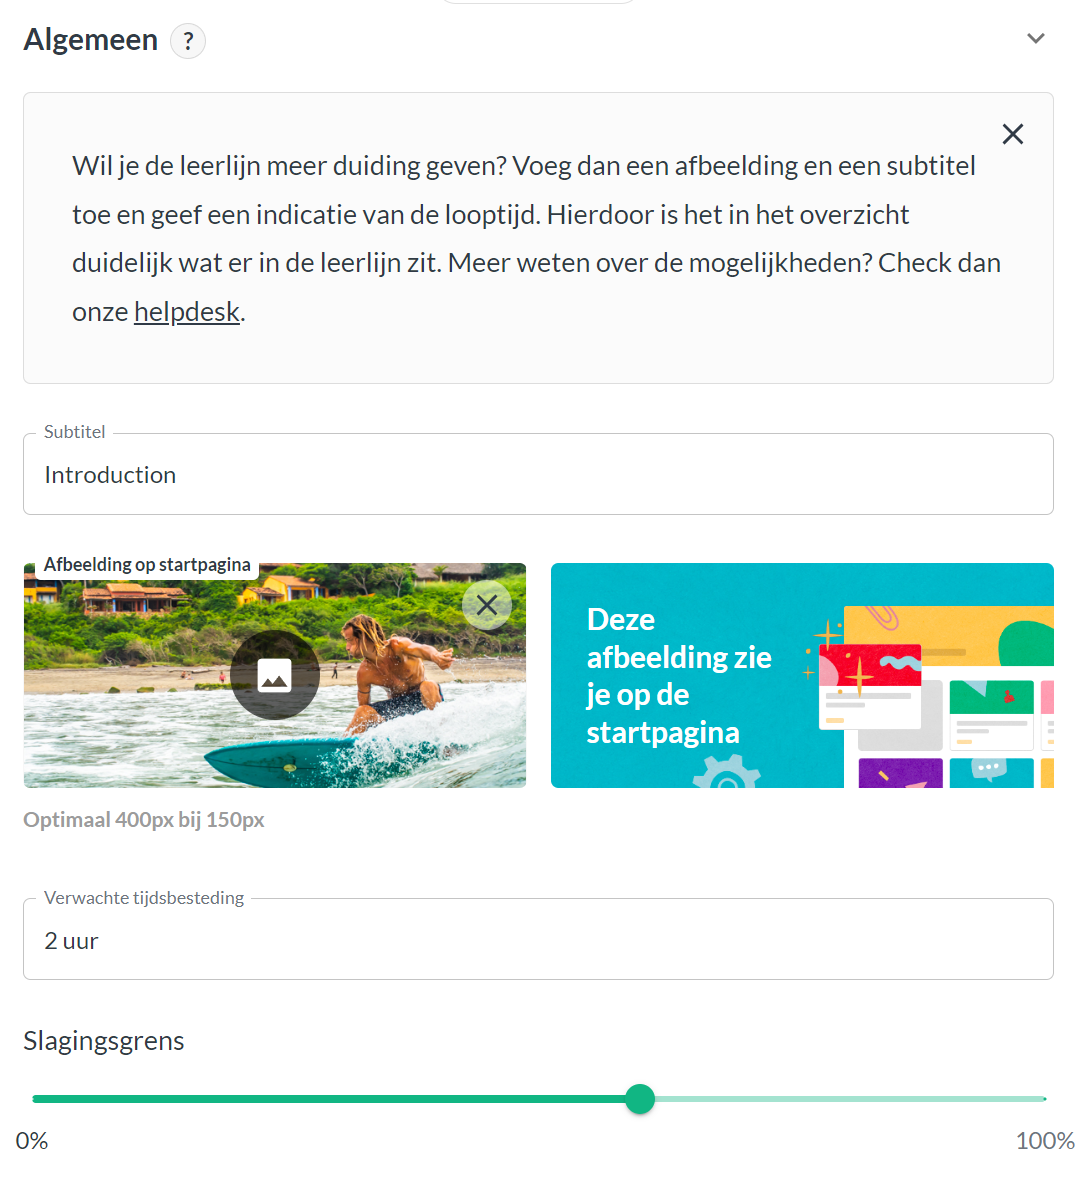
Algemeen (general). Add a subtitle and an image, an indication of how long the trajectory takes, and the percentage a participant has to score to complete it.
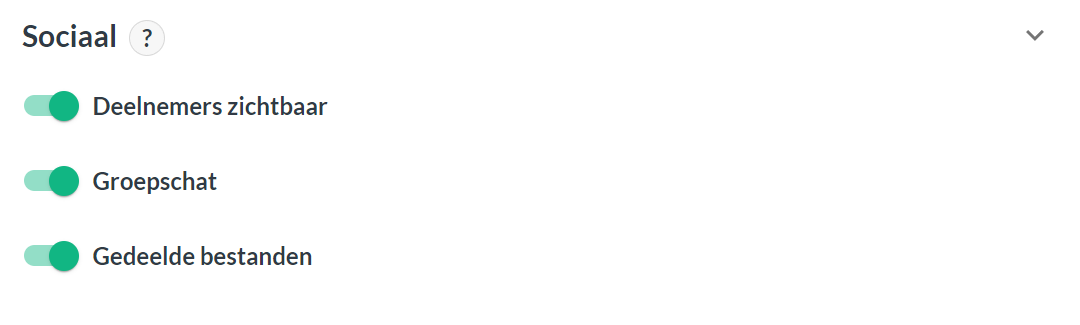
Sociaal (social). Making participants visible to each other lets them see who else is in the trajectory and start a one-to-one chat. Group chat creates one conversation with everyone in it, and shared files lets them exchange documents.
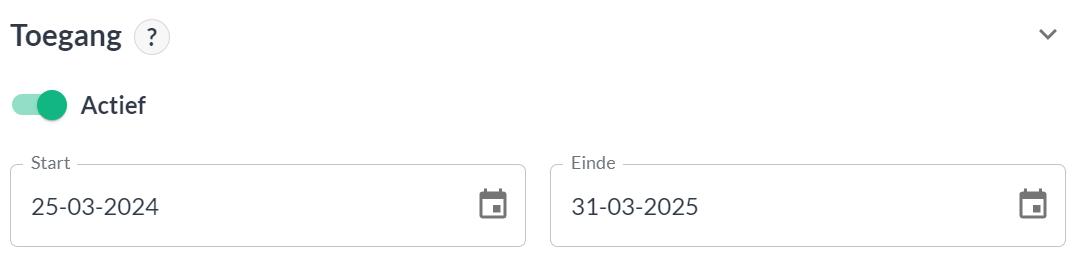
Toegang (access). Setting the trajectory to active makes it visible to the participants you add. A start and end date limits the period in which they can reach it. Watch the start date: if it sits in the future, your participants see nothing.
Koppelingen (integrations). Connect external applications such as a webshop or a CRM. The reference field takes the ID that the external application gives you.

Click Maak leerlijn to create the trajectory.
Check the result.
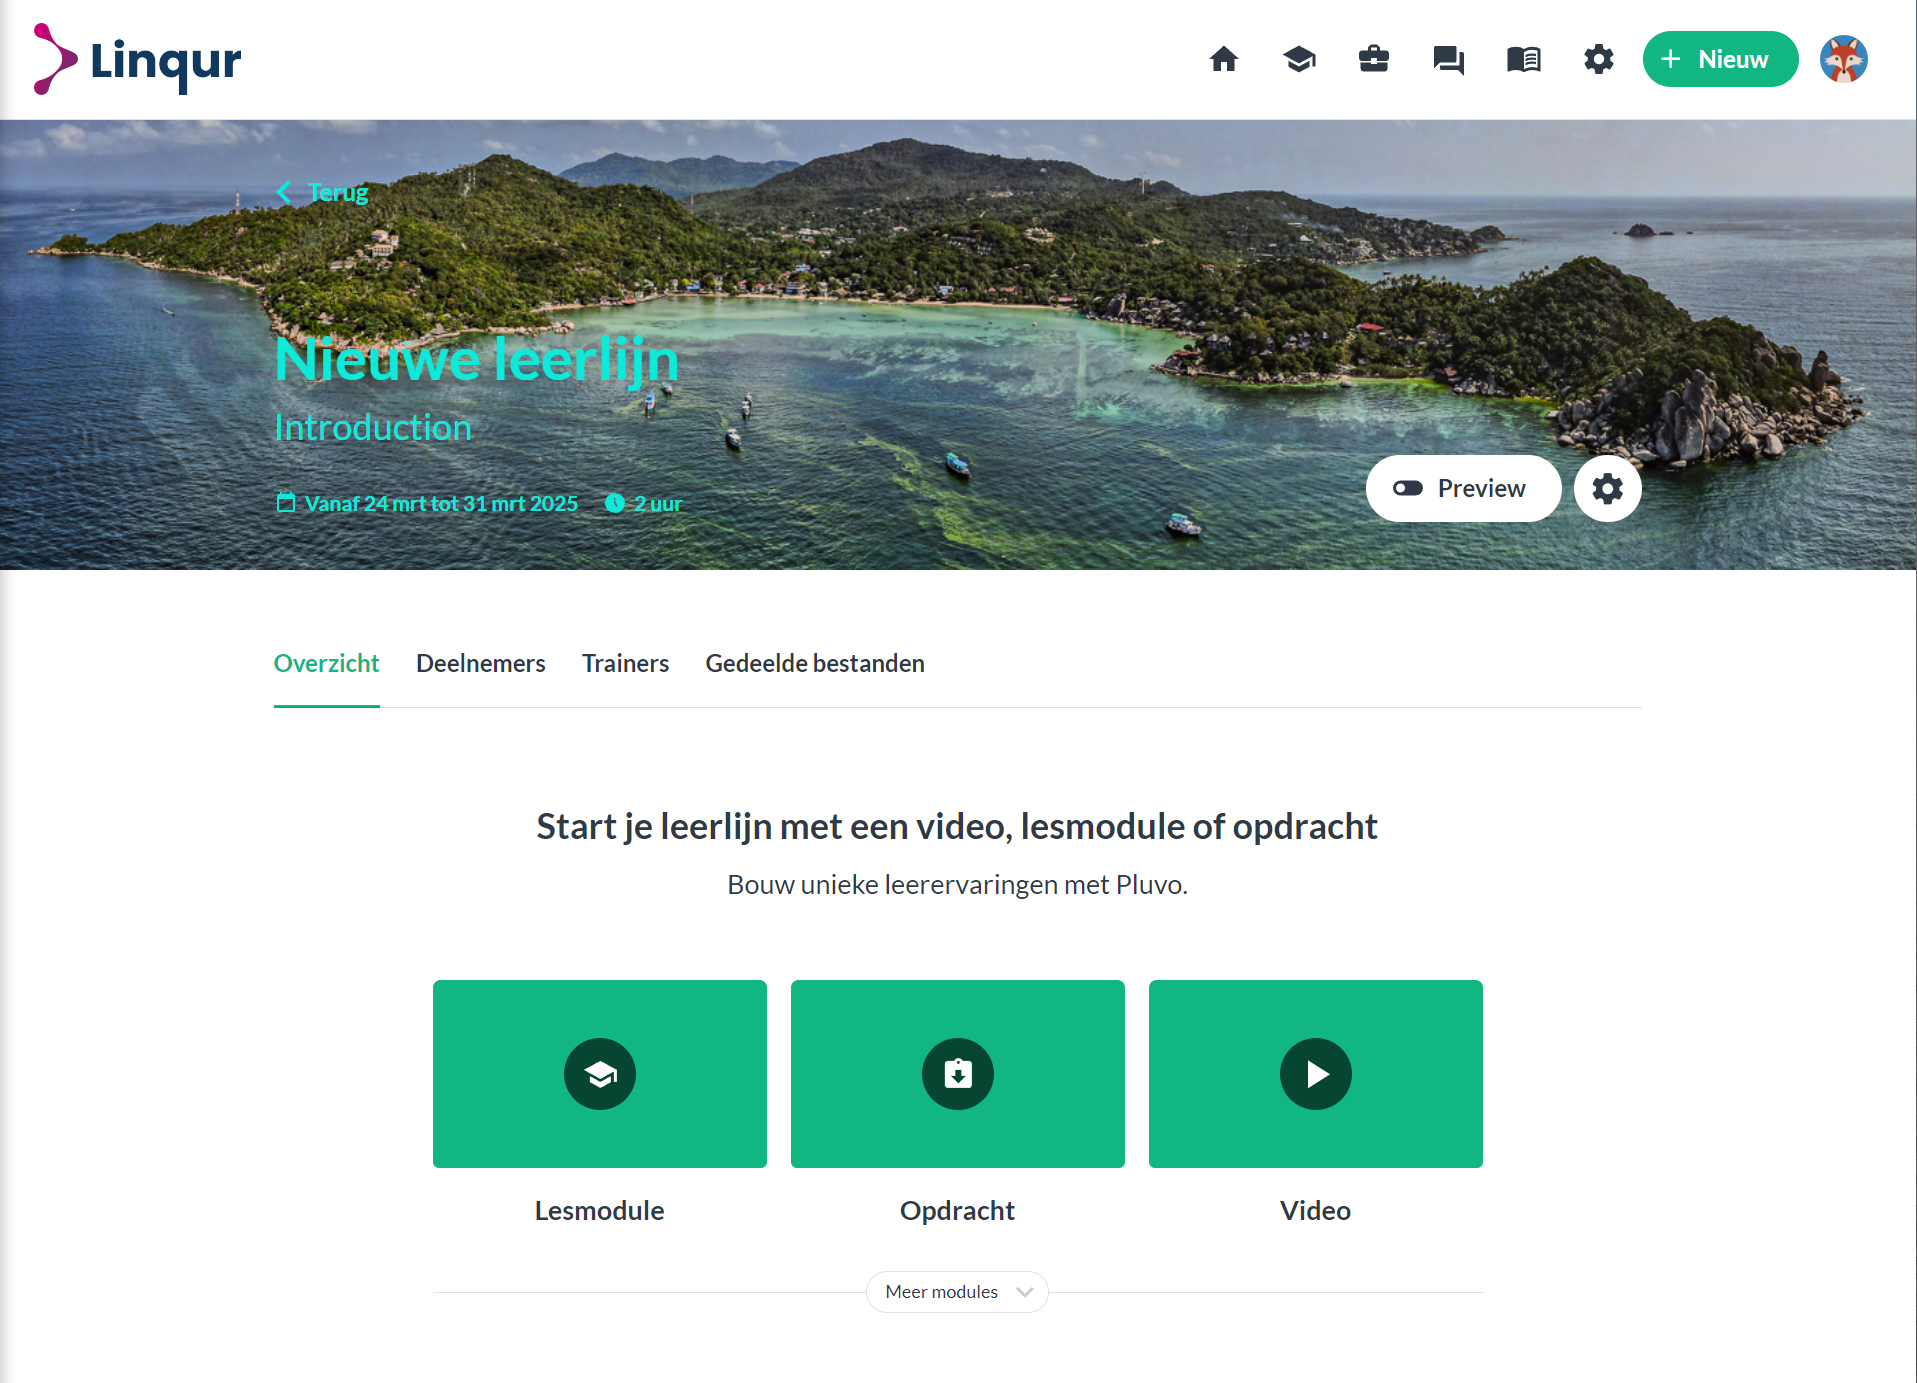
With the trajectory in place you can add a SCORM package from Linqur to it as an LTI module. How that works on both sides is described in sharing a SCORM from Linqur to Pluvo over Legacy LTI. The tool that Pluvo points at is created in Linqur first, following publishing a SCORM package as an LTI tool. If the module returns an error when you open it, check the list of LTI errors and their solutions.