Getting started with sign-up URLs
With a sign-up URL, learners sign up for a course themselves. Sign-up URLs replace Magic URLs.
A sign-up URL is a link to a sign-up page for one course. You create the link in Linqur and send it to your client or straight to the learners. Whoever opens the link sees the course and signs up with an email address, a Google account or a Microsoft account.
Used Magic URLs before? They are now called sign-up URLs and are listed in the overview. What’s new is that learners can also log in with Google or Microsoft. Before, the only option was a login link by email.
Two ways to give learners access
| Self-registration | Enrol users | |
|---|---|---|
| How it works | You share a sign-up URL. The learner signs up on their own. | You upload an Excel file with learners. Linqur enrols them and sends them an email. |
| Useful when | your client distributes the link, or the group isn’t fixed yet | you know exactly who needs access |
| Tutorial | Create a sign-up URL | Enrol users with an Excel file |
Both go through a sign-up URL. The settings of that URL, such as the date range, the maximum number of registrations and the allowed email domains, also apply when you enrol learners yourself.
What the learner sees
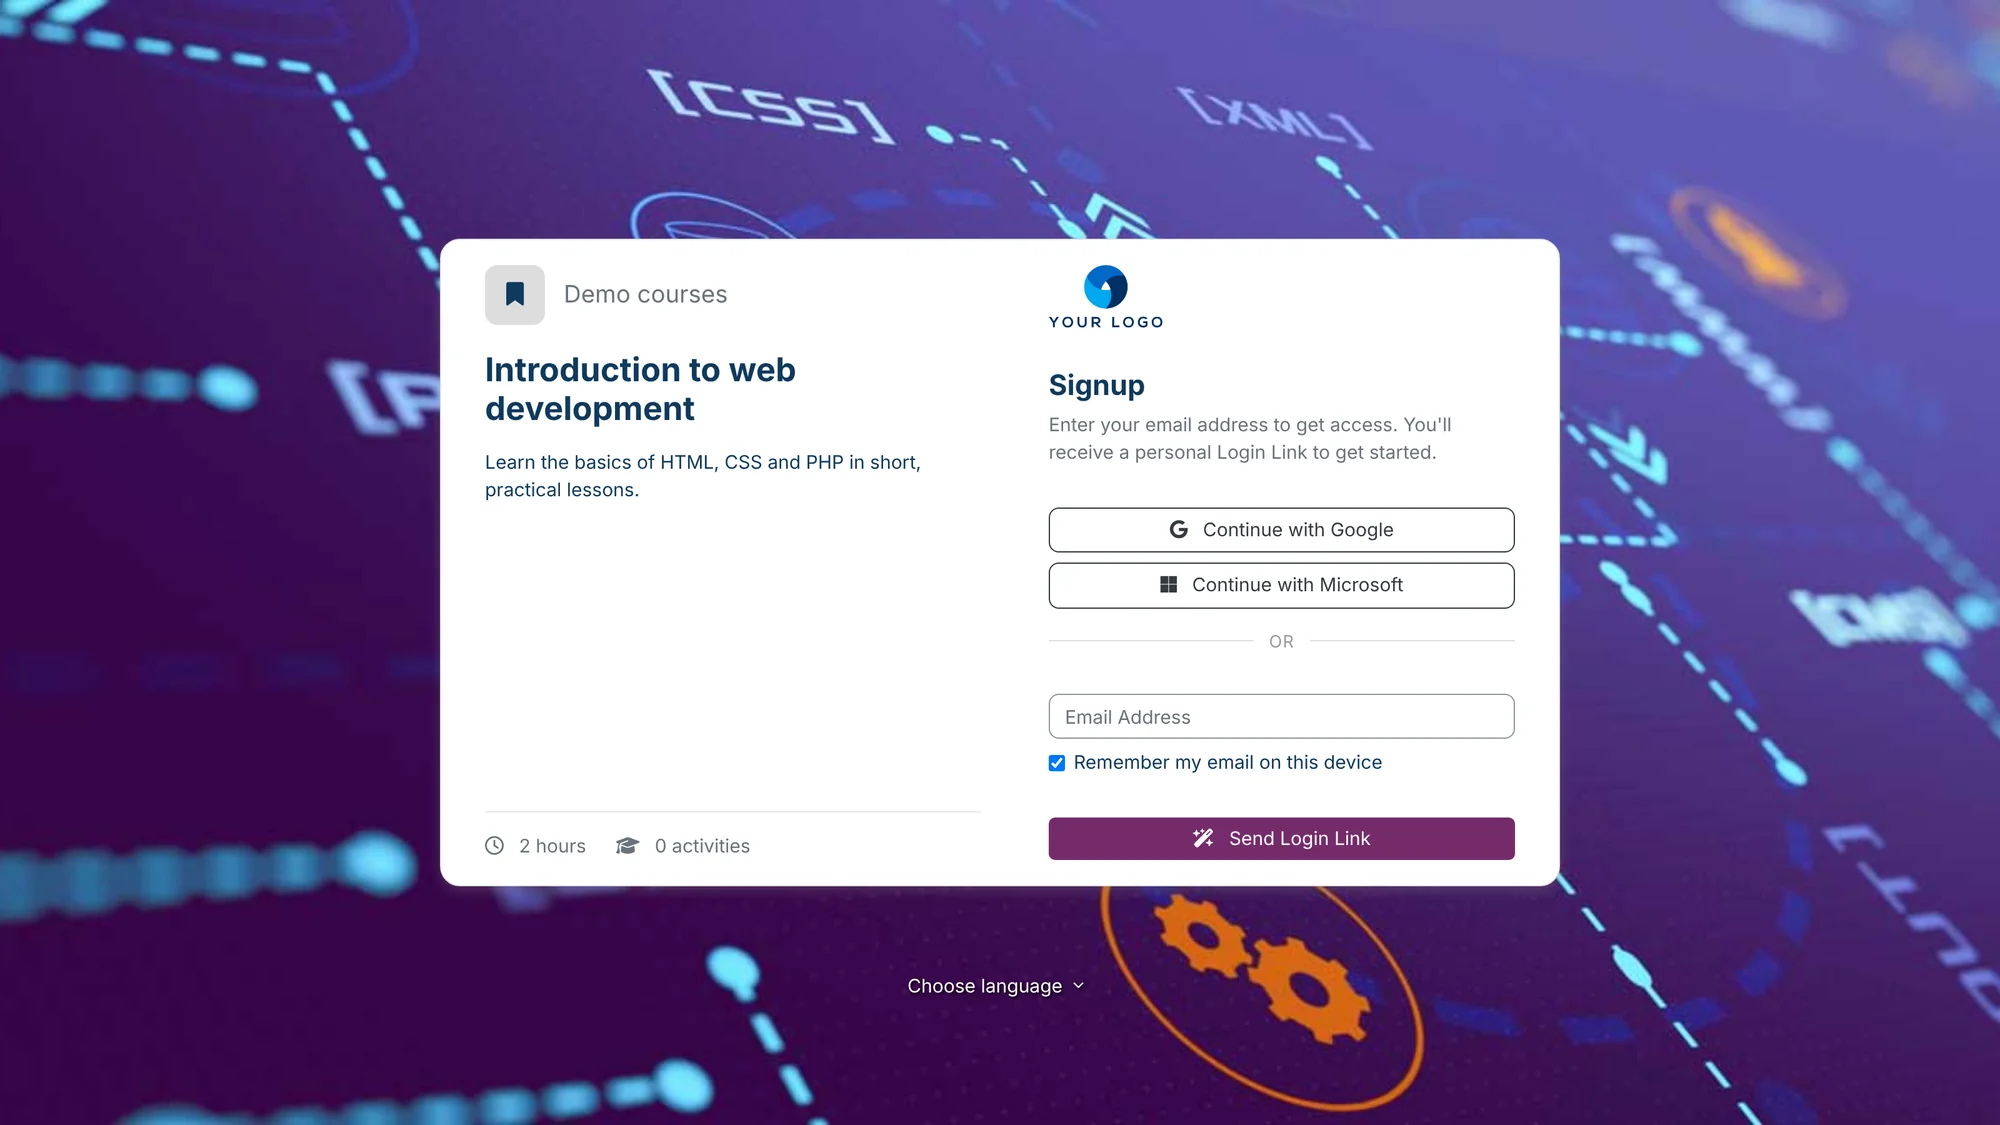
The sign-up page
The link opens a page with the course on the left: category, title, description, estimated duration and number of activities. The course cover image is the background. On the right, the learner chooses how to sign up: Continue with Google, Continue with Microsoft, or entering an email address and clicking Send Login Link.
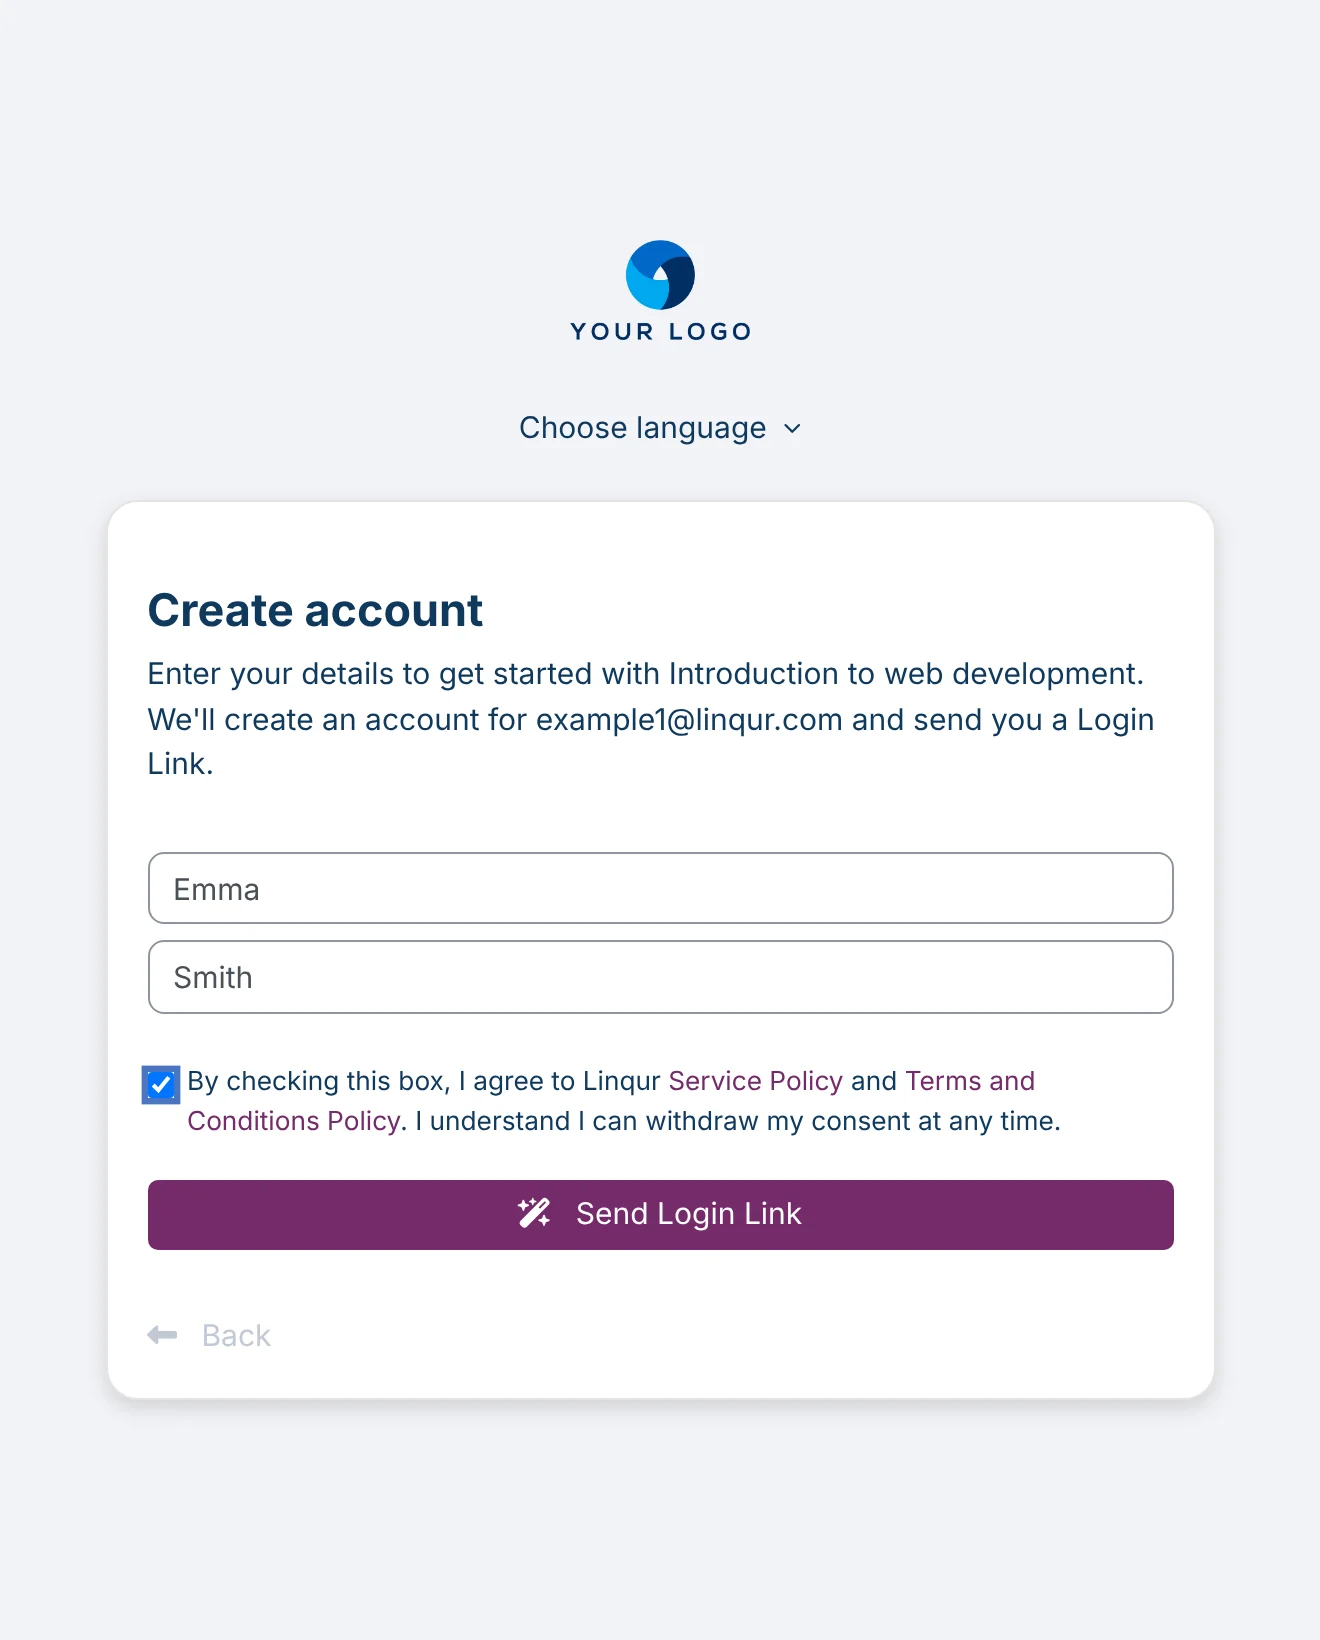
Create account
If the email address is new, the learner enters a first name and last name. If the mandatory policy is enabled, they also tick the box with your terms. They can’t continue without it. To set that text, see set up sign-up policies.
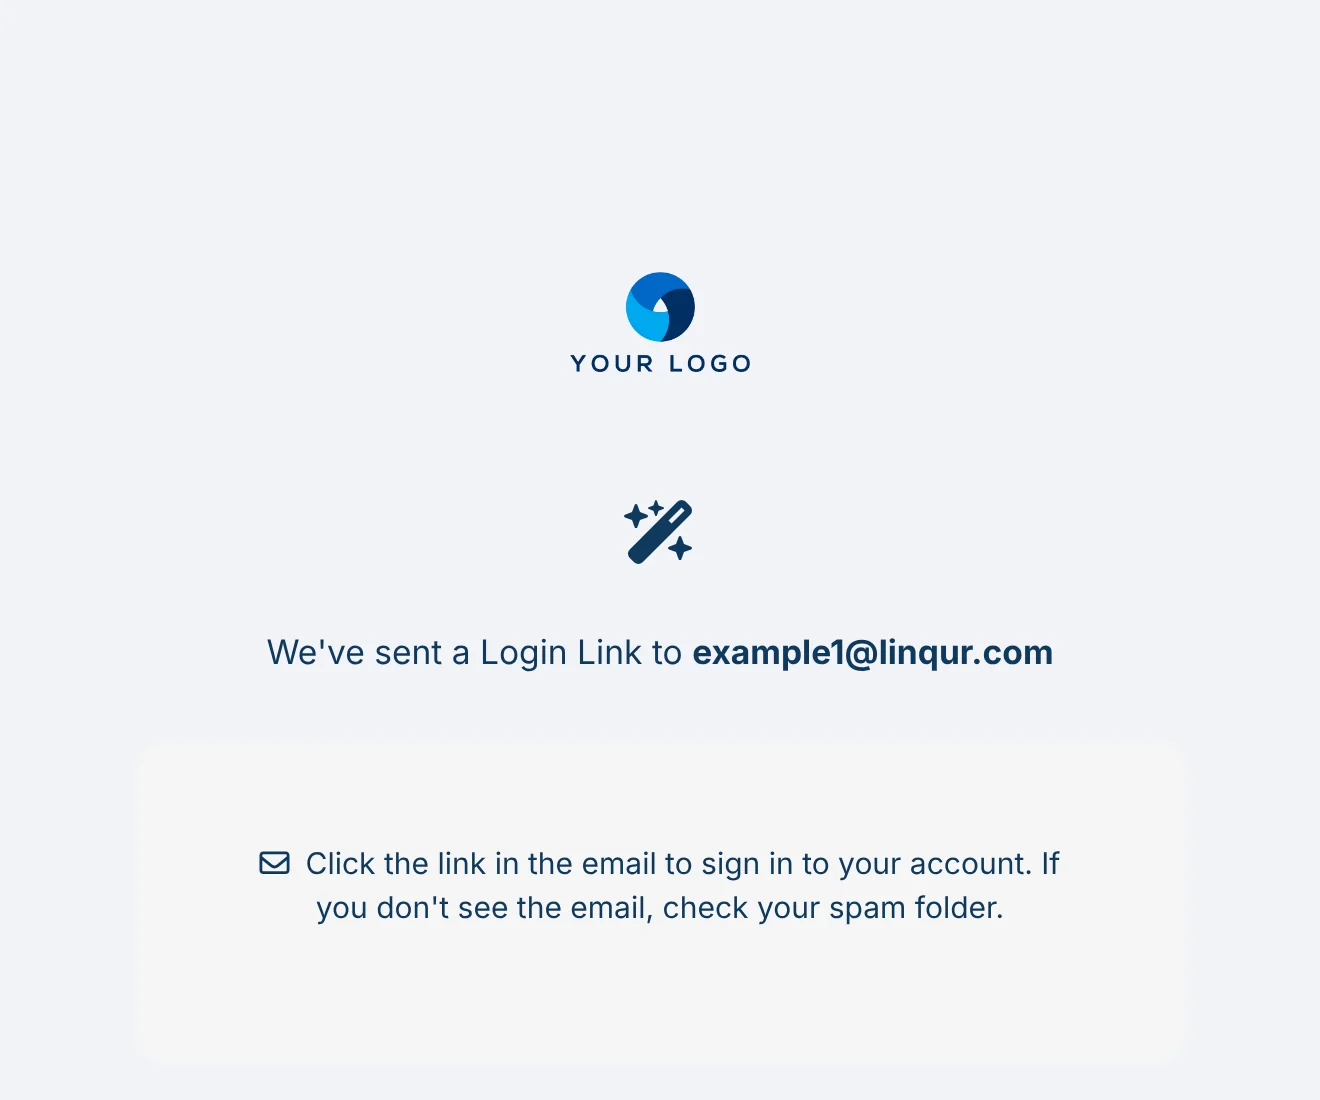
The login link
Next, the learner receives an email with a personal login link. The link works once and expires after 15 minutes. If it no longer works, the learner can request a login code on the login screen.
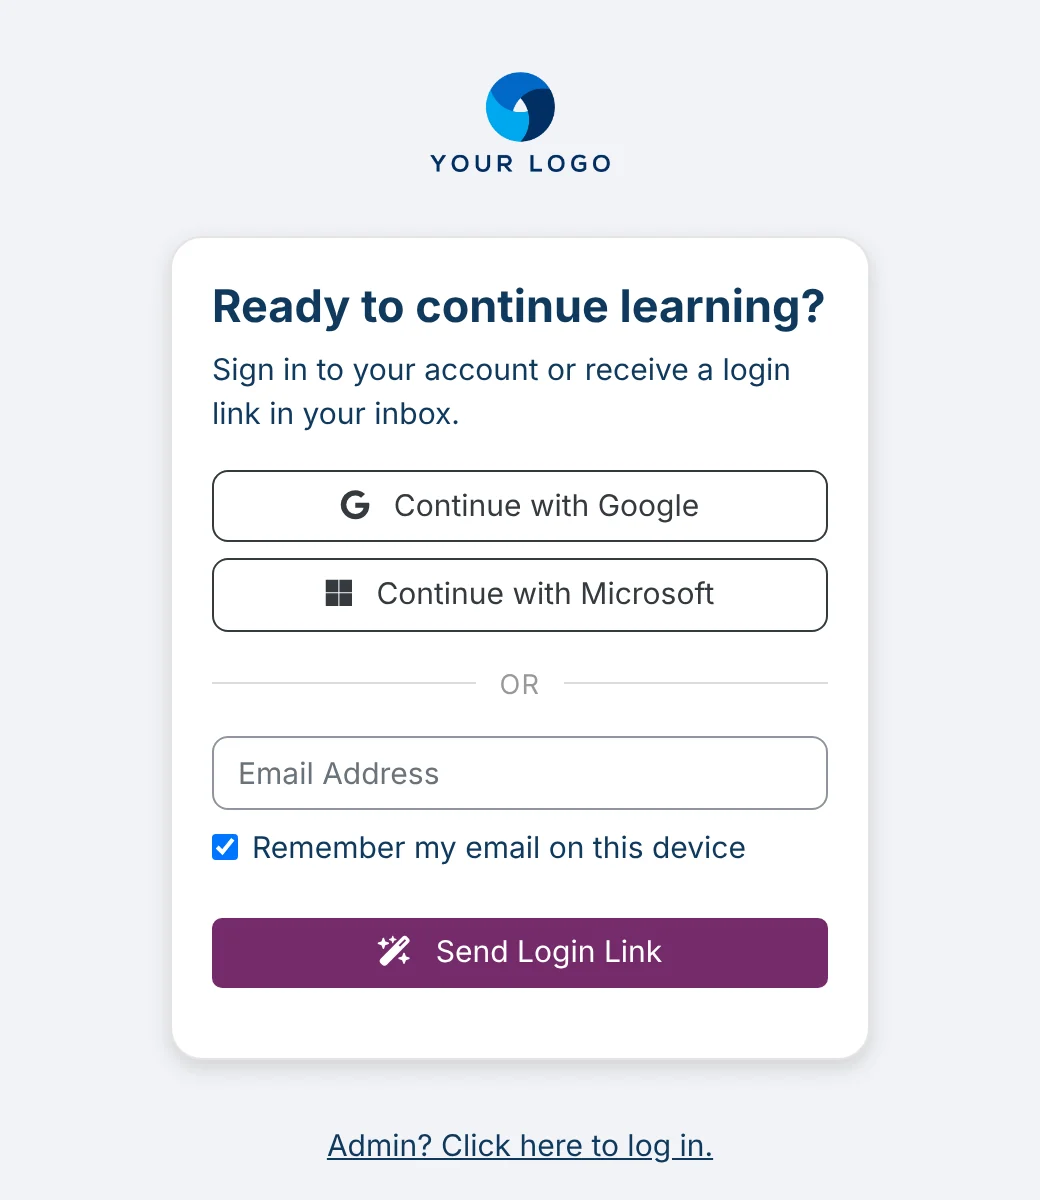
Logging in again later
Learners don’t have a password. They go to your platform address and request a new login link there, or sign in with Google or Microsoft. Admins log in through Admin? Click here to log in. below the form.
The profile
Once logged in, learners open their profile with the person icon at the top right. The page is called Your Profile. Under Danger Zone, they can delete their own account with Delete account. The page warns that all their data will be removed permanently and that this can’t be undone. Back to course overview takes them back to their courses.
Where to find sign-up URLs
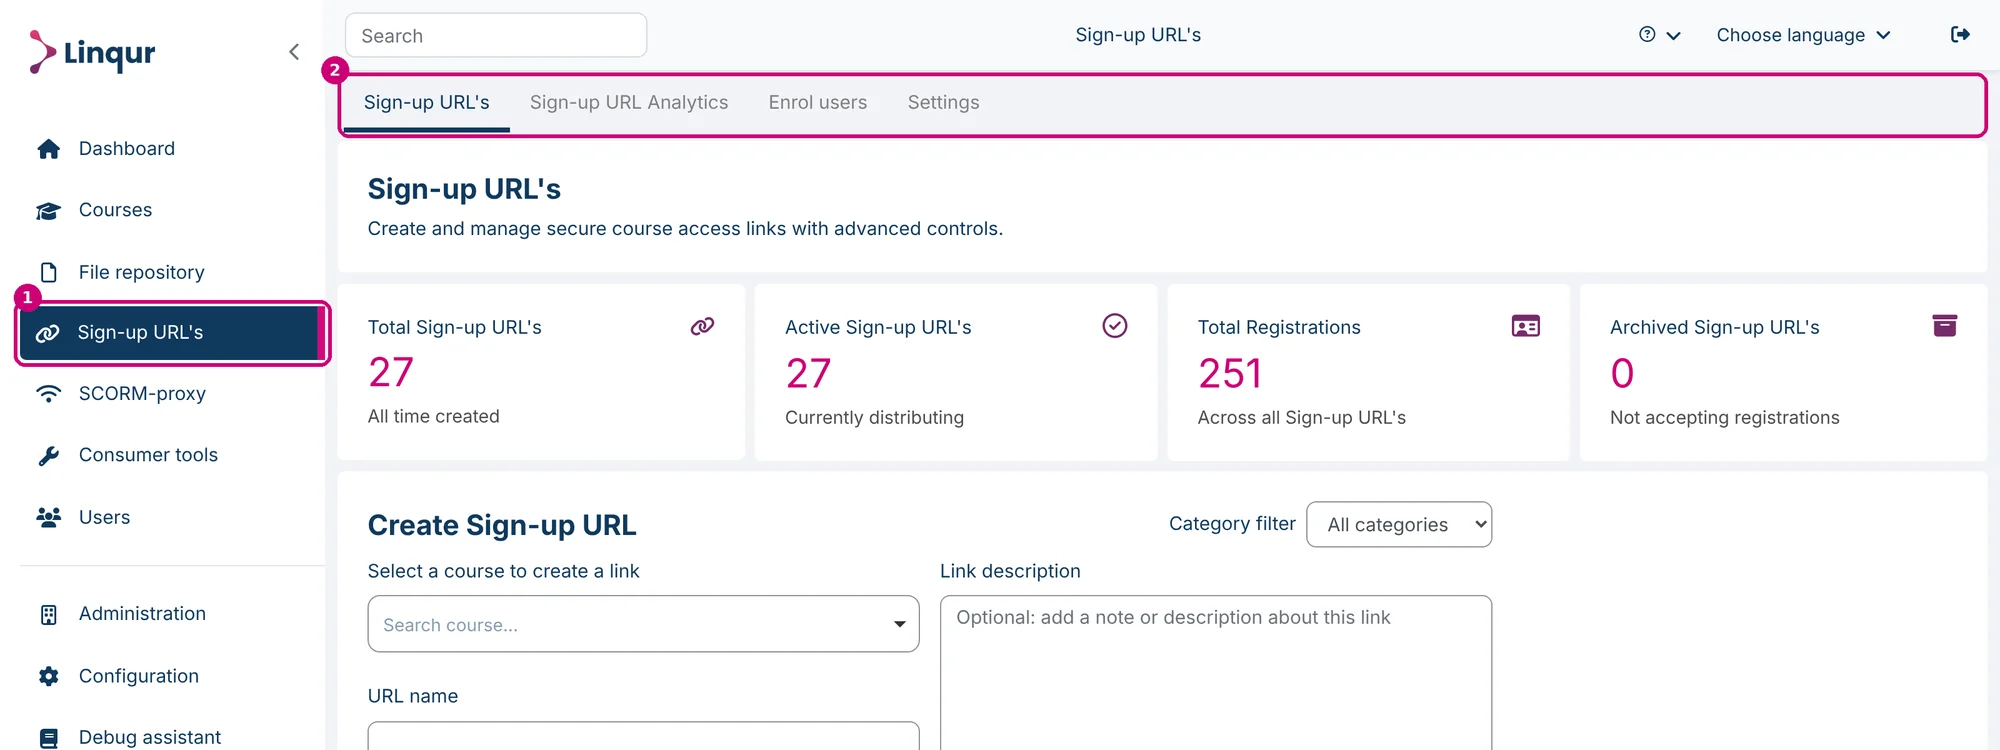
Click Sign-up URL’s in the menu on the left (1). There are four tabs at the top (2):
| Tab | What you do there | Tutorial |
|---|---|---|
| Sign-up URL’s | Create, copy, edit, archive and delete links | Create a sign-up URL, Manage sign-up URLs |
| Sign-up URL Analytics | See progress, completion and grade per learner | View results with Sign-up URL Analytics |
| Enrol users | Enrol learners with an Excel file | Enrol users with an Excel file |
| Settings | The sign-up policy and the emails to learners | Set up sign-up policies, Customise learner emails |
Before you start
You need a course. Create one with add a new course. Fill in the cover image, description and estimated duration there too, because learners see them on the sign-up page.
Learners who sign up through a sign-up URL also show up in the list of registered users. If your learners get access through your client’s LMS, you don’t need a sign-up URL but LTI. See creating a course and sharing it via LTI Tools.