This tutorial is a step by-step guide to set up a remote SCORM and share with an external platform via a subscription model.
Step-by-step instructions
1. Click on “Courses” in the sidebar.
2. Click on “Add course” and give your course a name.
3. In the course overview click on “Manage content” and in the course screen select “Edit content”.
4. Select the activity “remote SCORM”.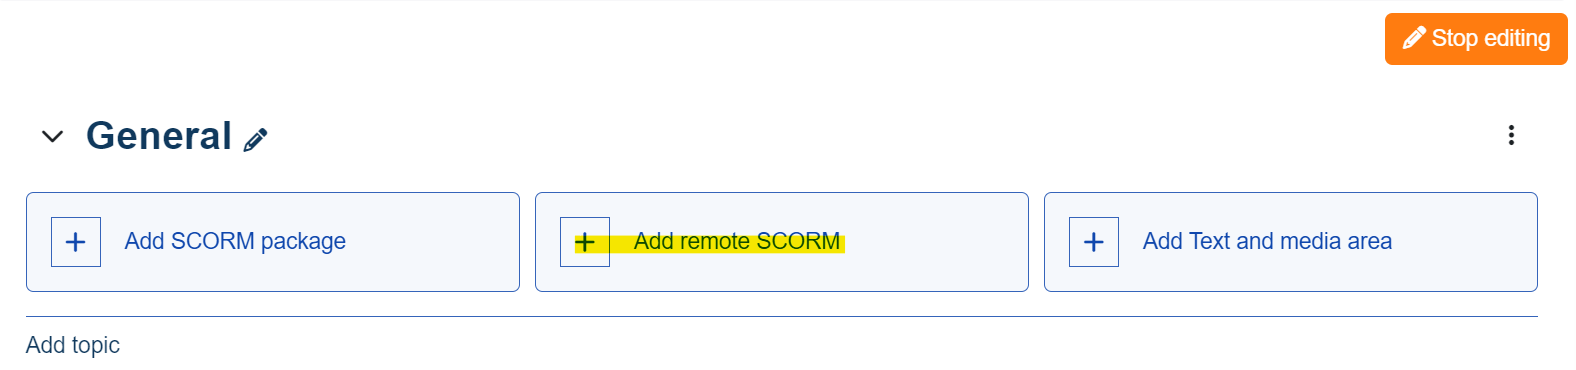
5. Give your SCORM a name, a description (optional) and upload the SCORM package.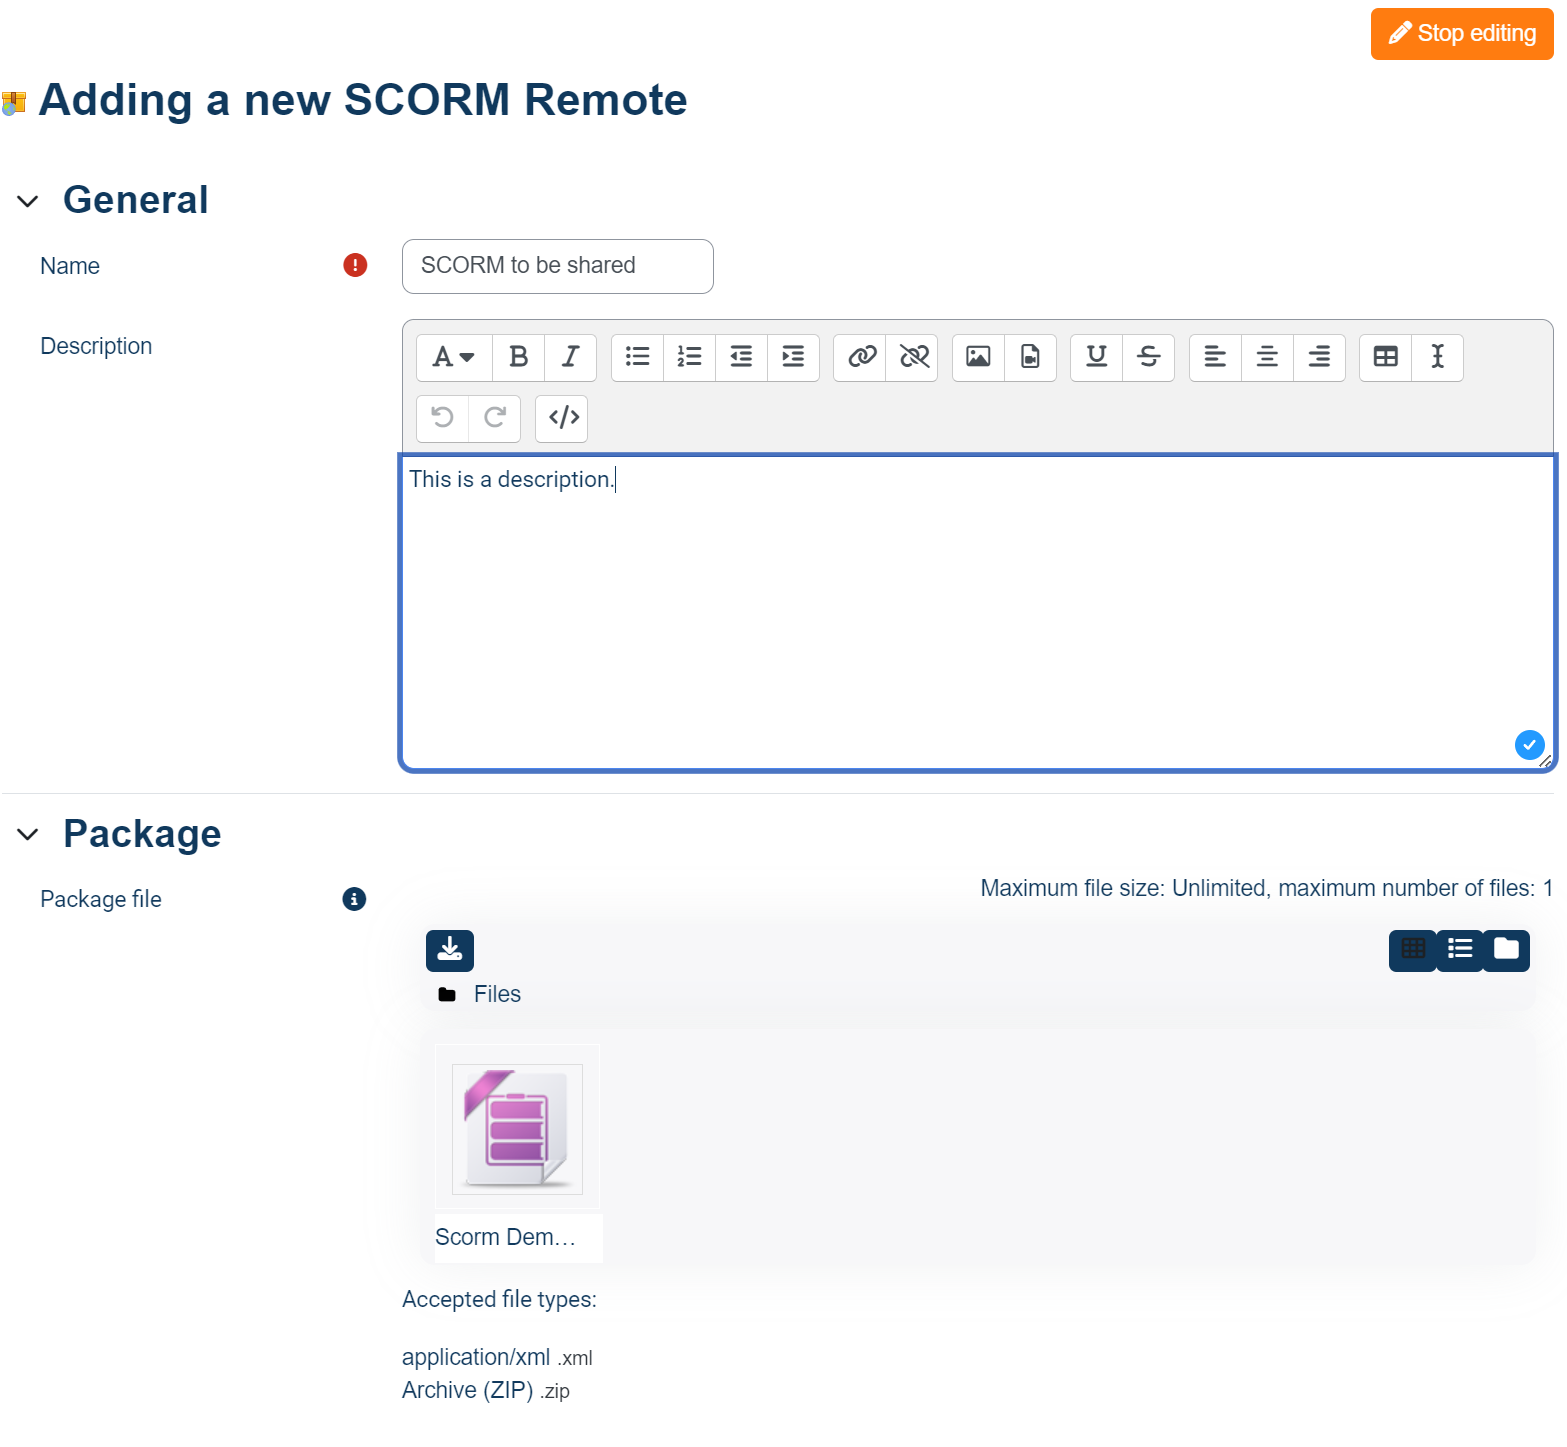
6. Click on “Save and return to course”.
7. The course should look like this.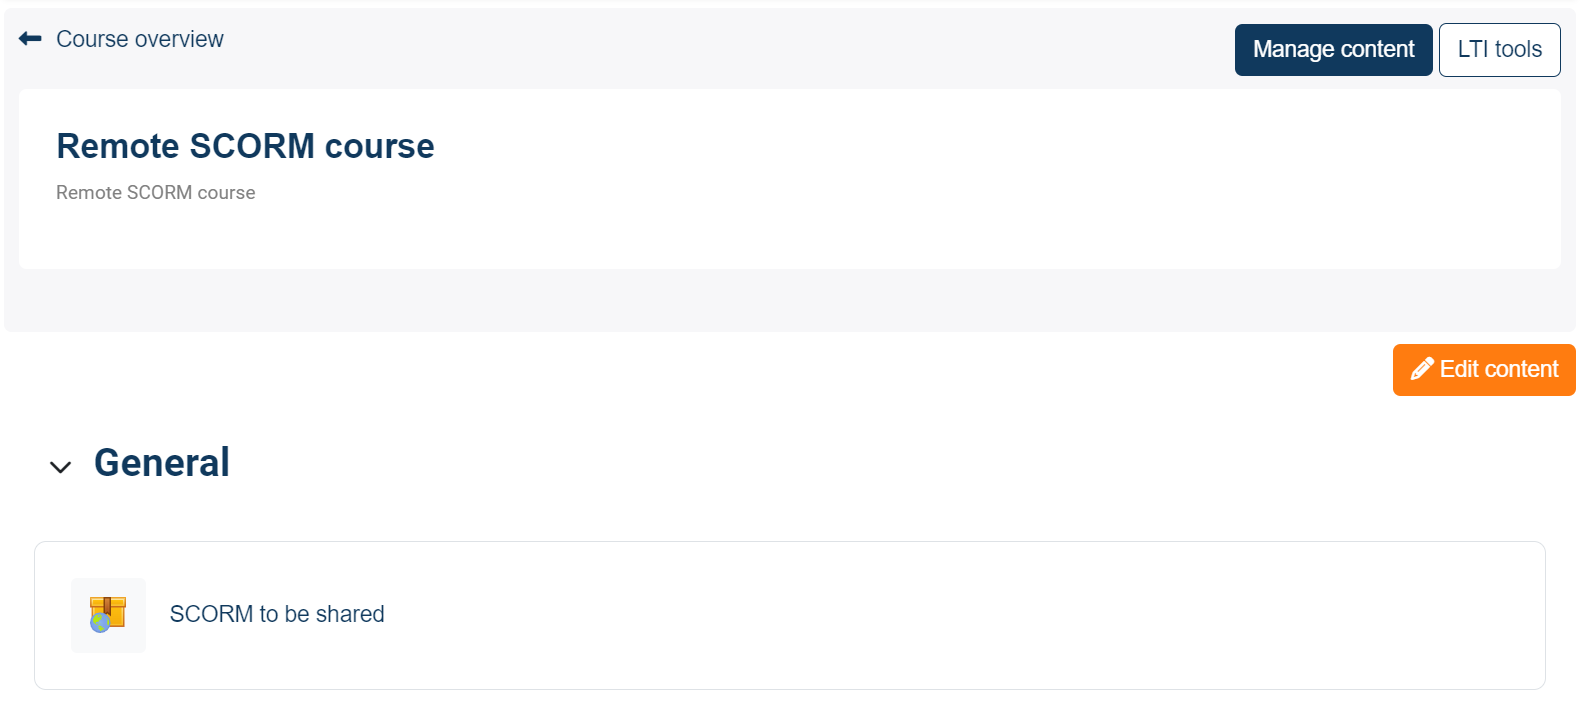
8. Now you need to set up the subscription model and the external platform where you want to share the SCORM. Go to “Manage tiers” from the side panel and select “Add new tier”.
9. Name your tier, set the number of students allowed (seats), add a description (optional) and select the created course. 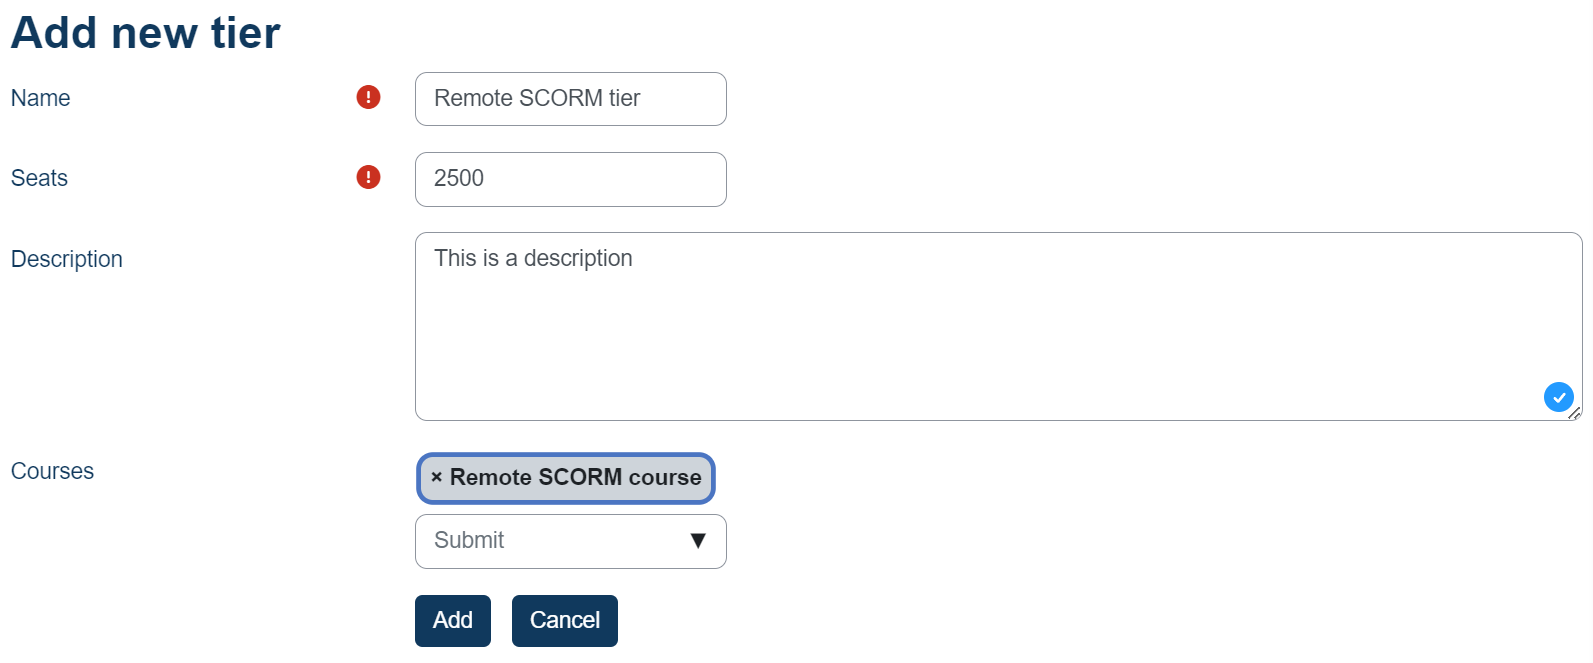
10. Select “Add” when finished.
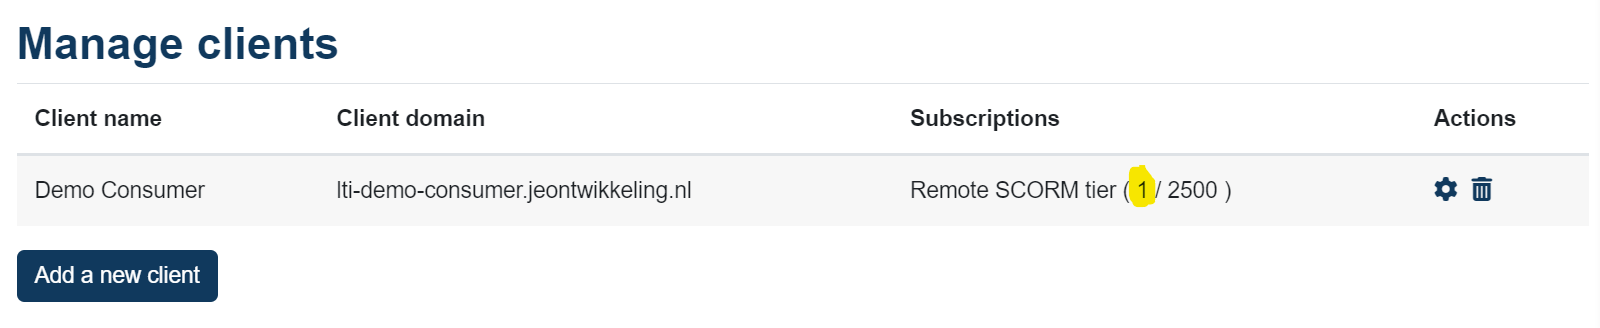
11. Now we need to set up the platform where you want to share your SCORM package. Select “Manage clients” from the side panel. Click on “Add a new client”.
12. Give your client a name, set the primary domain where the platform is located. Do not include http(s)://www. Double check the domain if you typed it right, this is important for authentication. After that select the subscription tier we just added in the previous steps. 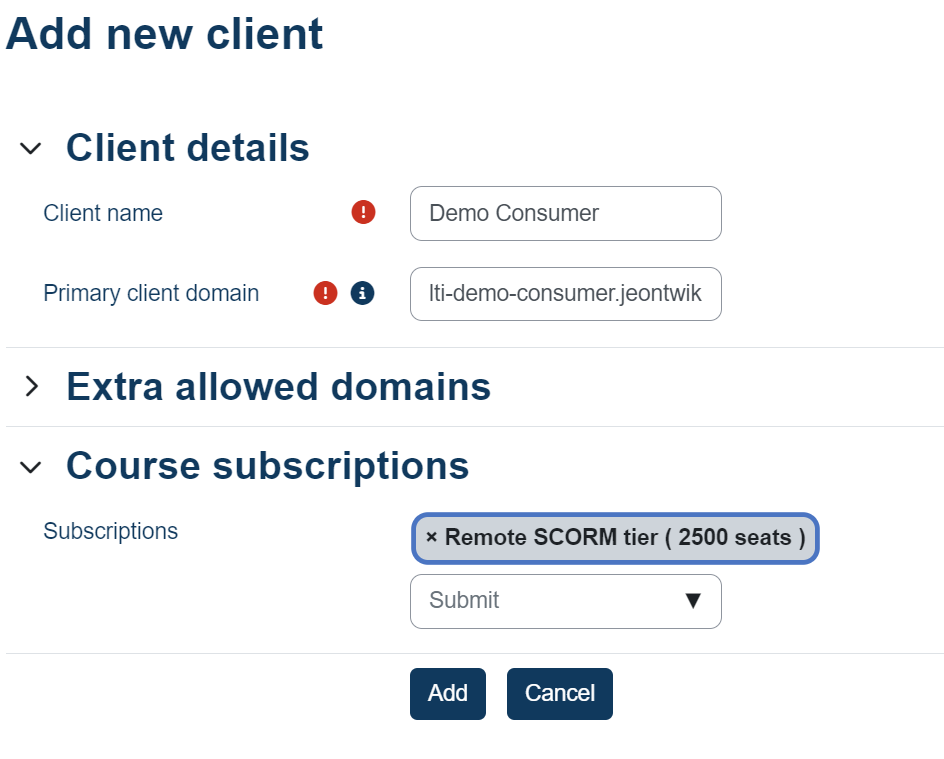
13. When finished select “Add”.
14. The set up is now complete, all we have to do is create the file that we share with the external platform specified in “Manage clients”.
15. Return to the course we created in the first steps.
16. Click on the SCORM package.
17. Select the tab “Wrapper”.
18. Give the wrapper file a name and select the client we created in the previous steps.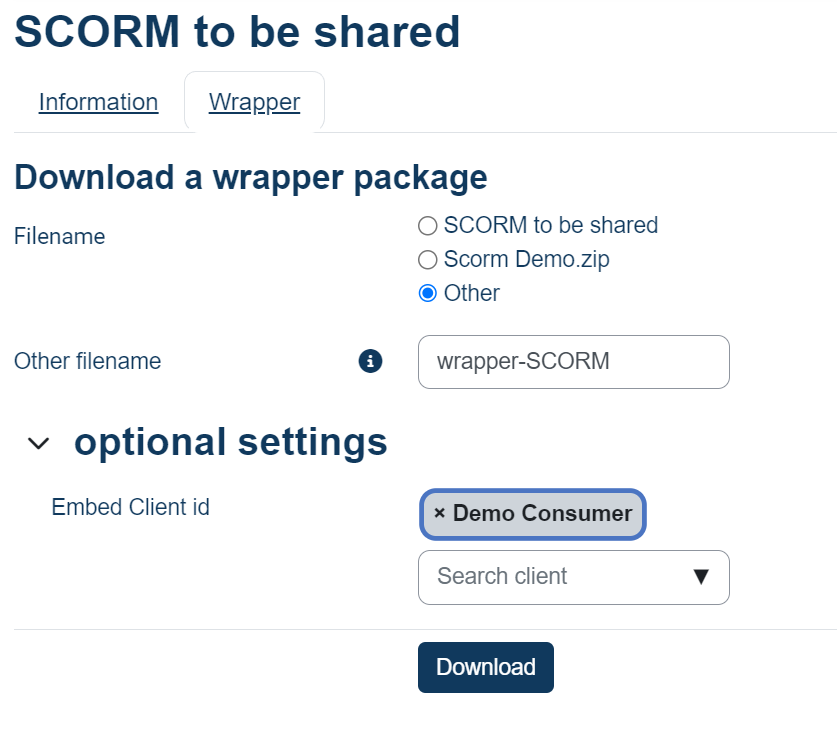
19. Click on “Download” when finished. Your browser will download the wrapper file that you can send to the admin of the external platform. They can add this SCORM package to their courses just like any other SCORM package and it will run remotely from Linqur.
20. Optional steps, adding the wrapper file to a course in an LMS that supports SCORM packages.
21. Add a course to the external platform and add a SCORM activity and upload the wrapper file.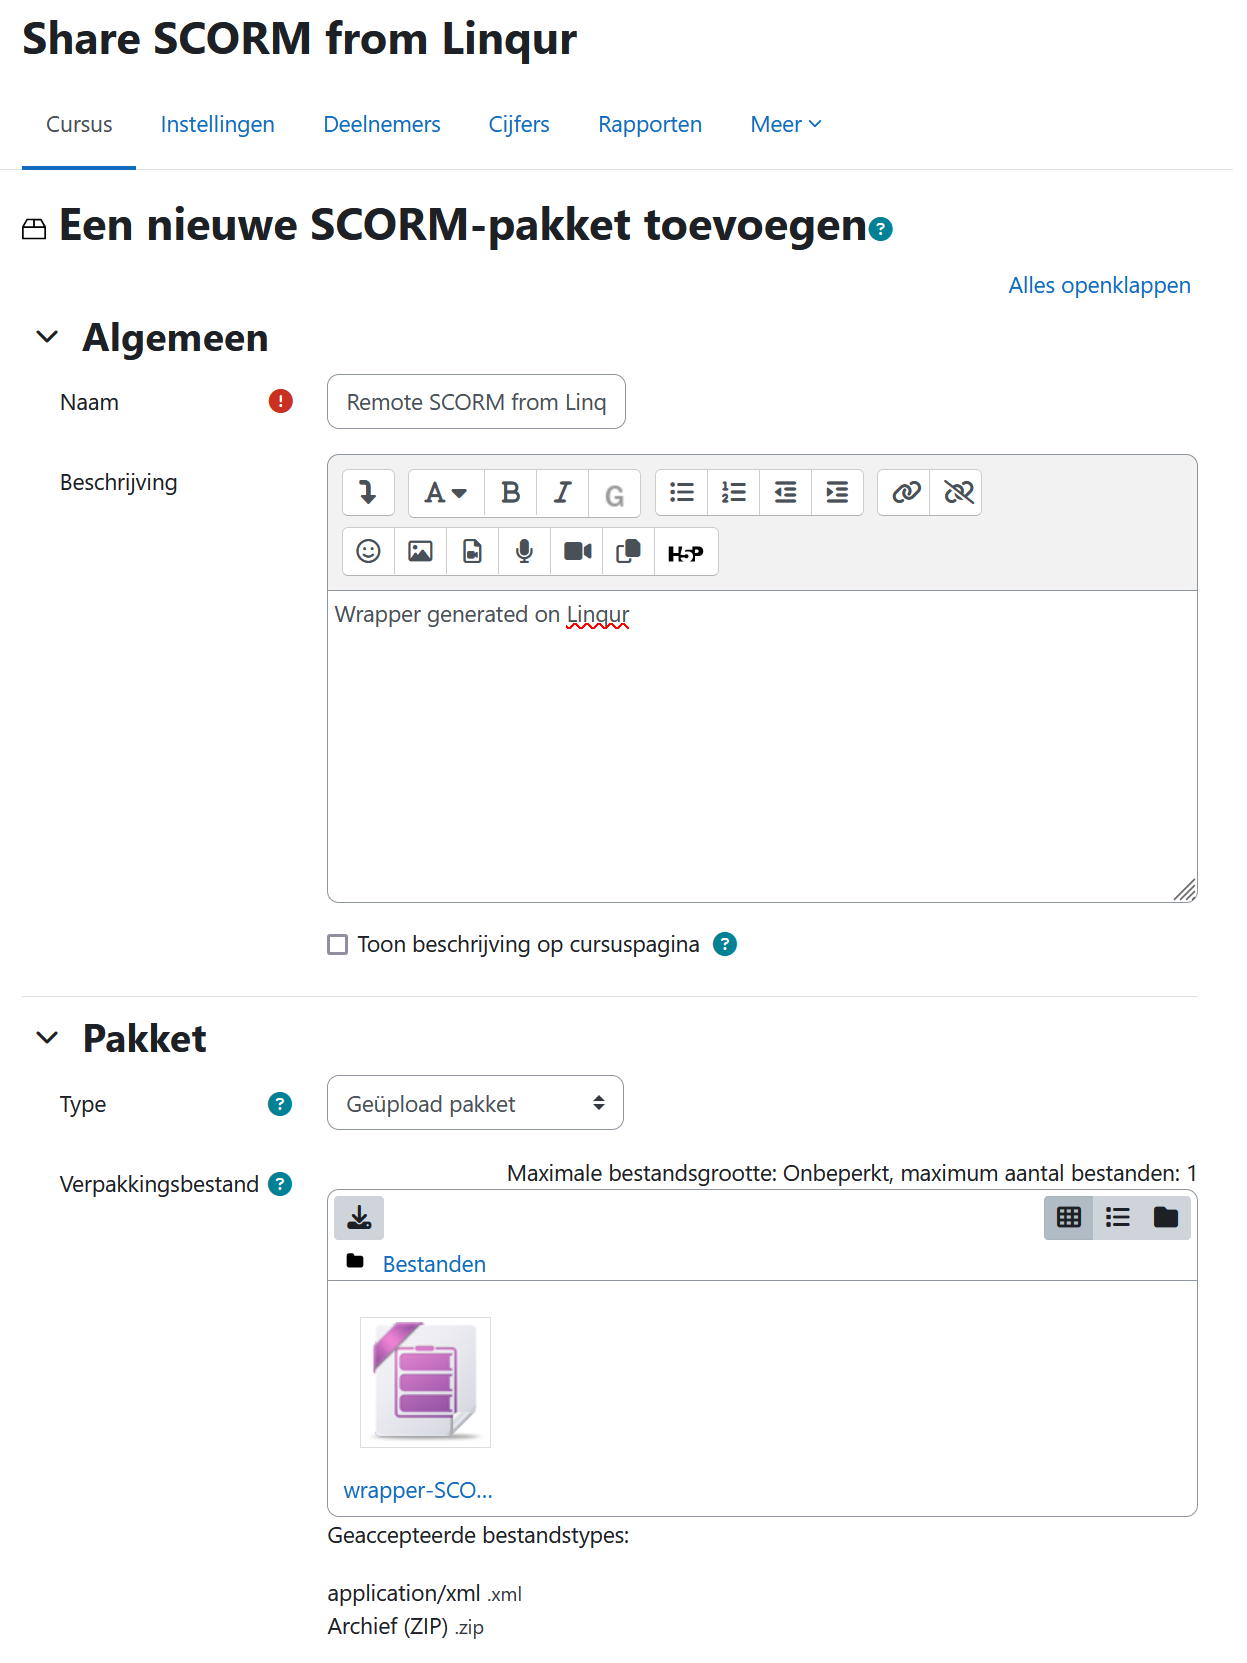
22. Enrol student to course and select the SCORM package.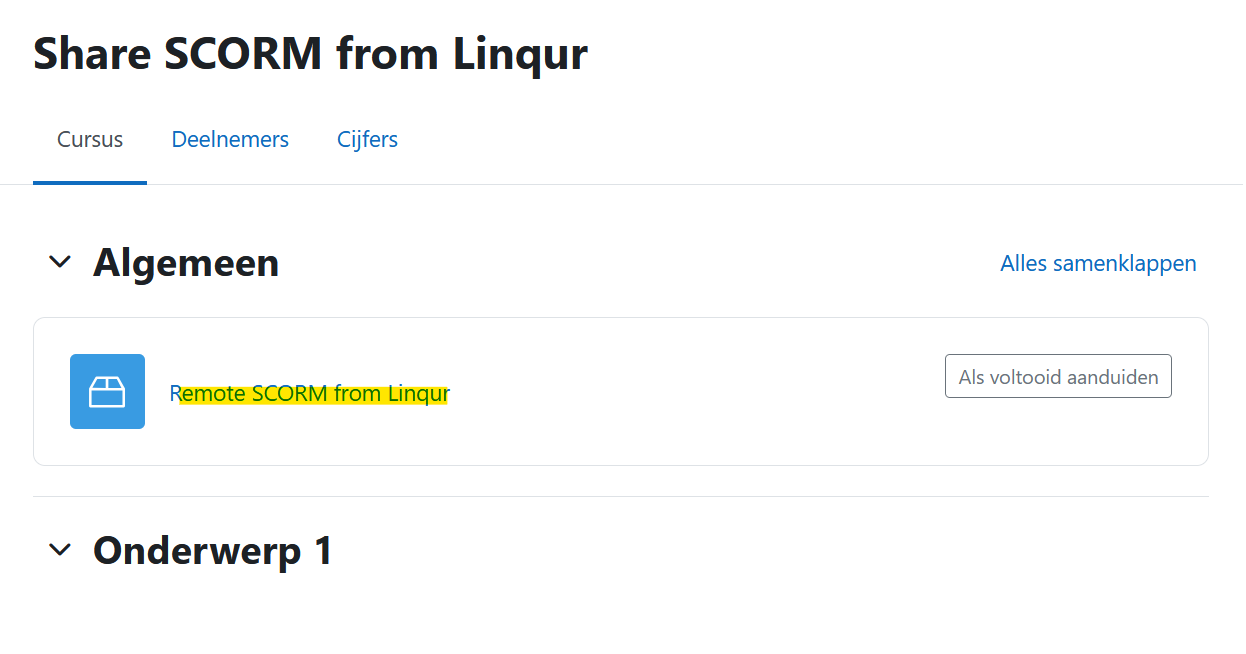
23. The SCORM will load from Linqur.
24. Every student that loads the course will be counted of the maximum subscriptions from Linqur. You can monitor this in the “Manage clients” tab from the side panel.